> ## Documentation Index
> Fetch the complete documentation index at: https://bun-1dd33a4e-farm-15490b5d-test-done-error-hook.mintlify.site/llms.txt
> Use this file to discover all available pages before exploring further.
# Deploy a Bun application on DigitalOcean
[DigitalOcean](https://www.digitalocean.com/) is a cloud platform that provides a range of services for building and deploying applications.
In this guide, we will deploy a Bun HTTP server to DigitalOcean using a `Dockerfile`.
Before continuing, make sure you have:
* A Bun application ready for deployment
* A [DigitalOcean account](https://www.digitalocean.com/)
* [DigitalOcean CLI](https://docs.digitalocean.com/reference/doctl/how-to/install/#step-1-install-doctl) installed and configured
* [Docker](https://docs.docker.com/get-started/get-docker/) installed and added to your `PATH`
***
Create a new Container Registry to store the Docker image.
In the DigitalOcean dashboard, go to [**Container Registry**](https://cloud.digitalocean.com/registry), and enter the details for the new registry.
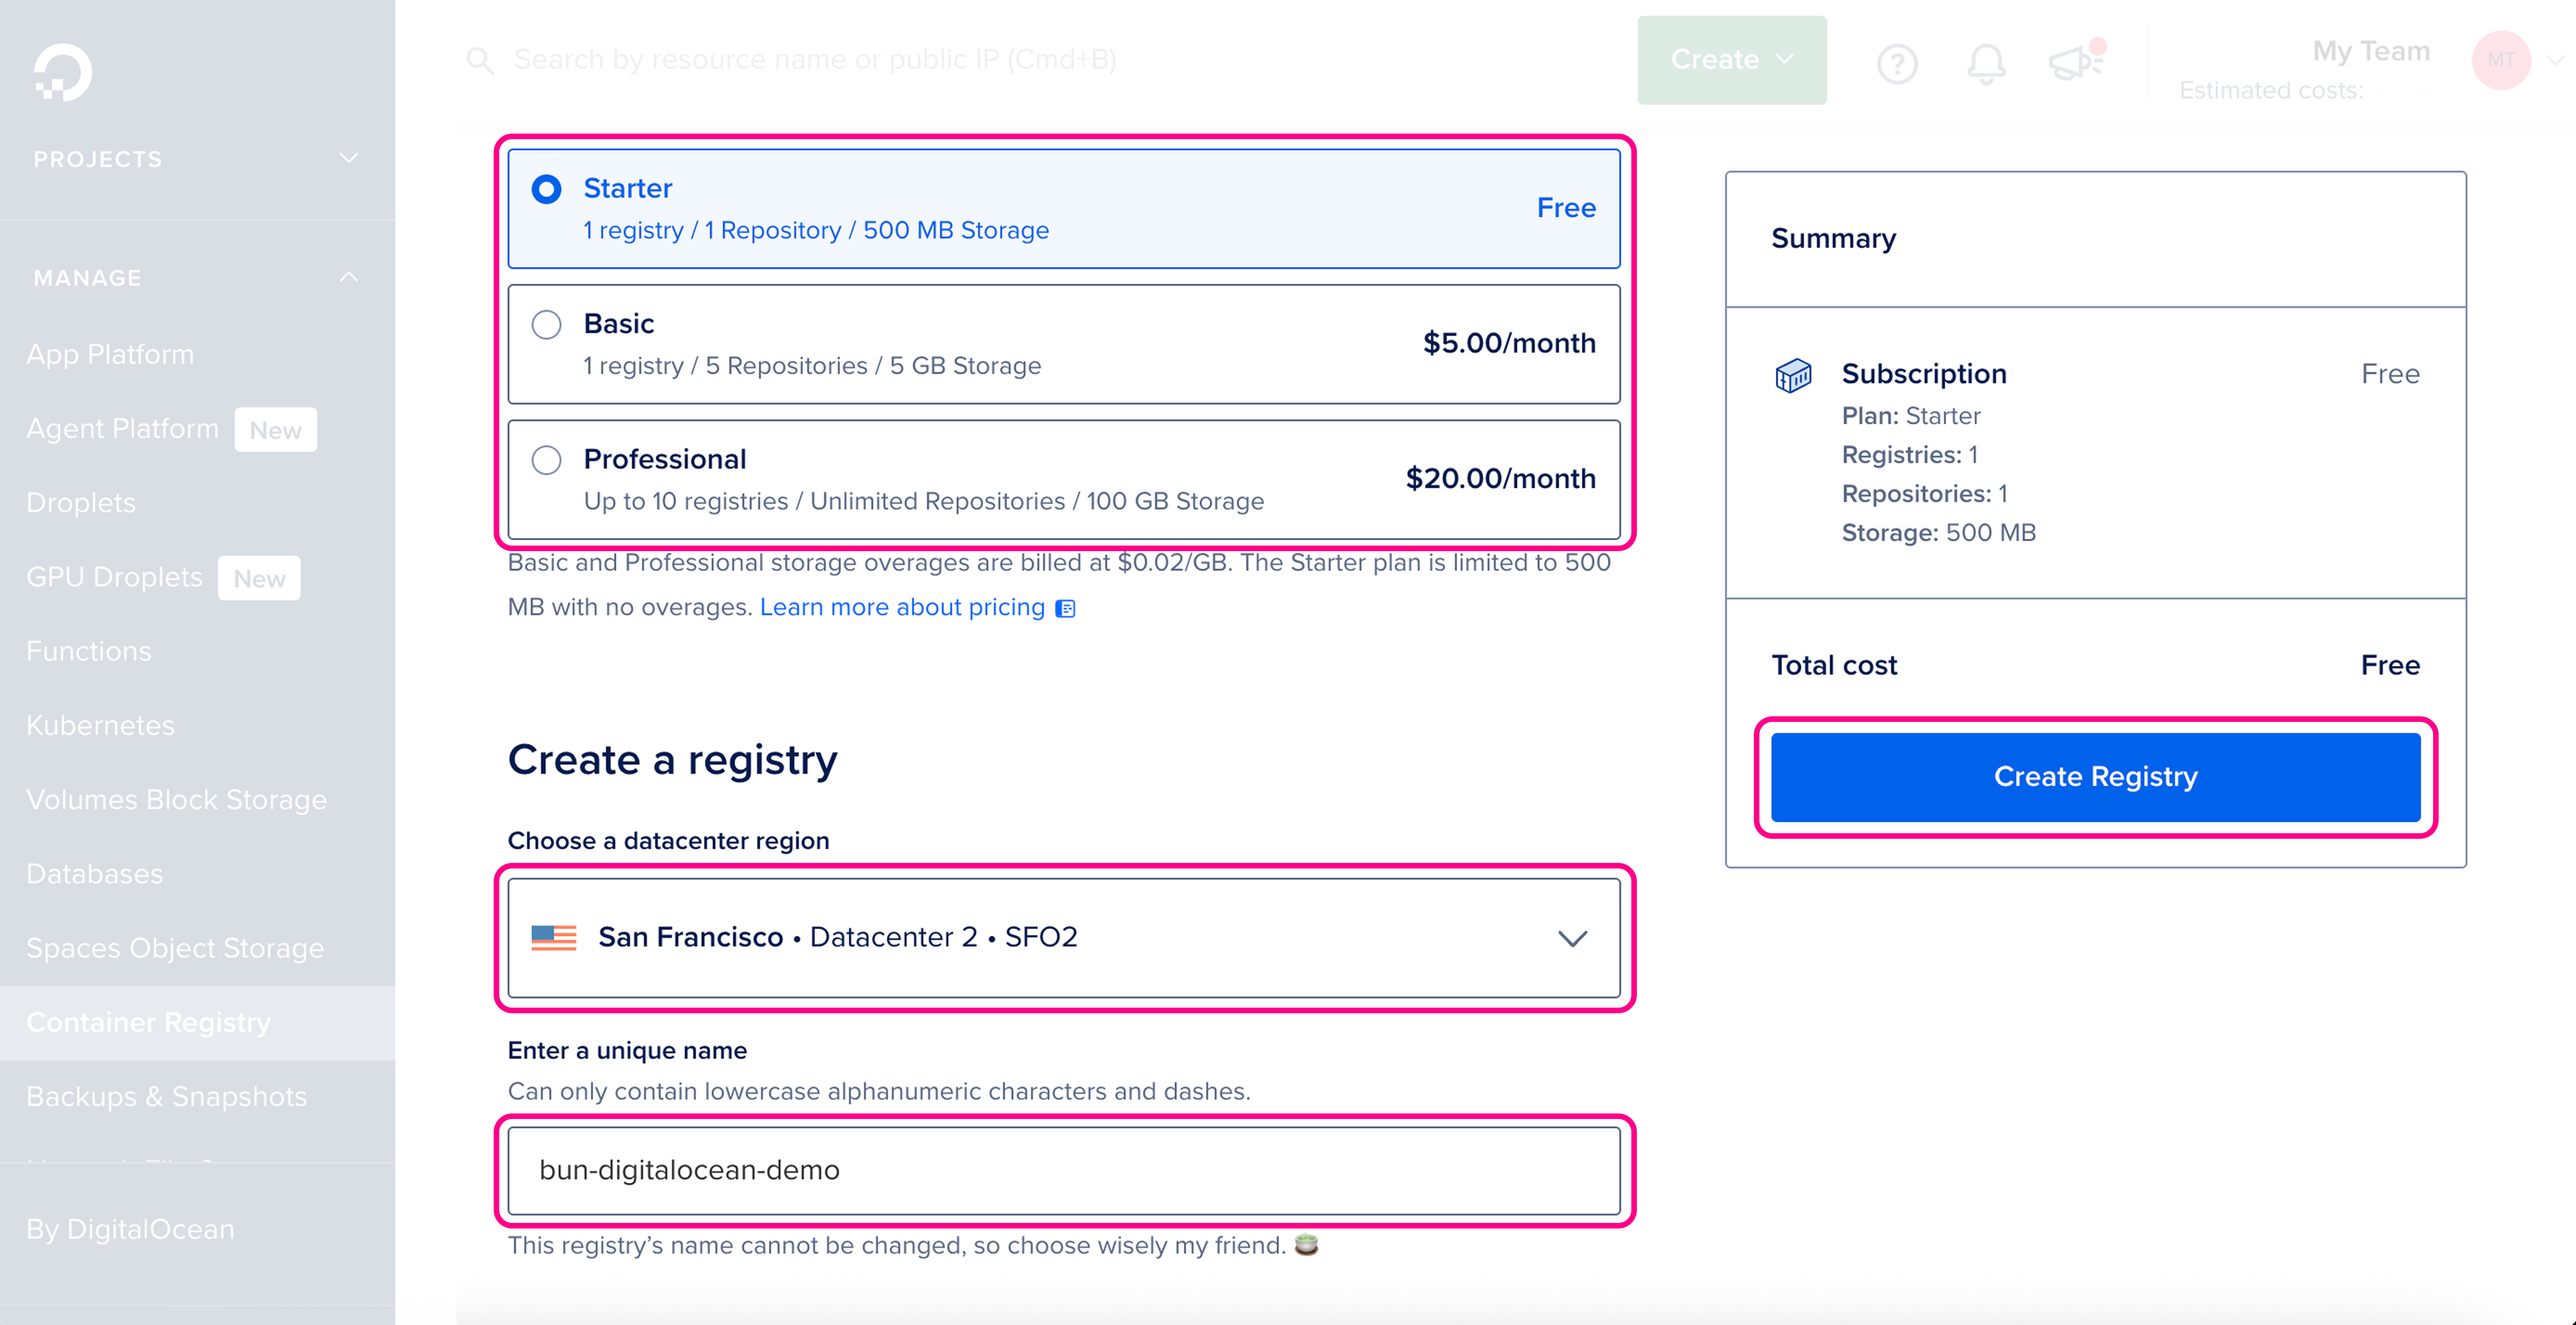 Make sure the details are correct, then click **Create Registry**.
```bash terminal icon="terminal" theme={null}
doctl registry create bun-digitalocean-demo
```
```txt theme={null}
Name Endpoint Region slug
bun-digitalocean-demo registry.digitalocean.com/bun-digitalocean-demo sfo2
```
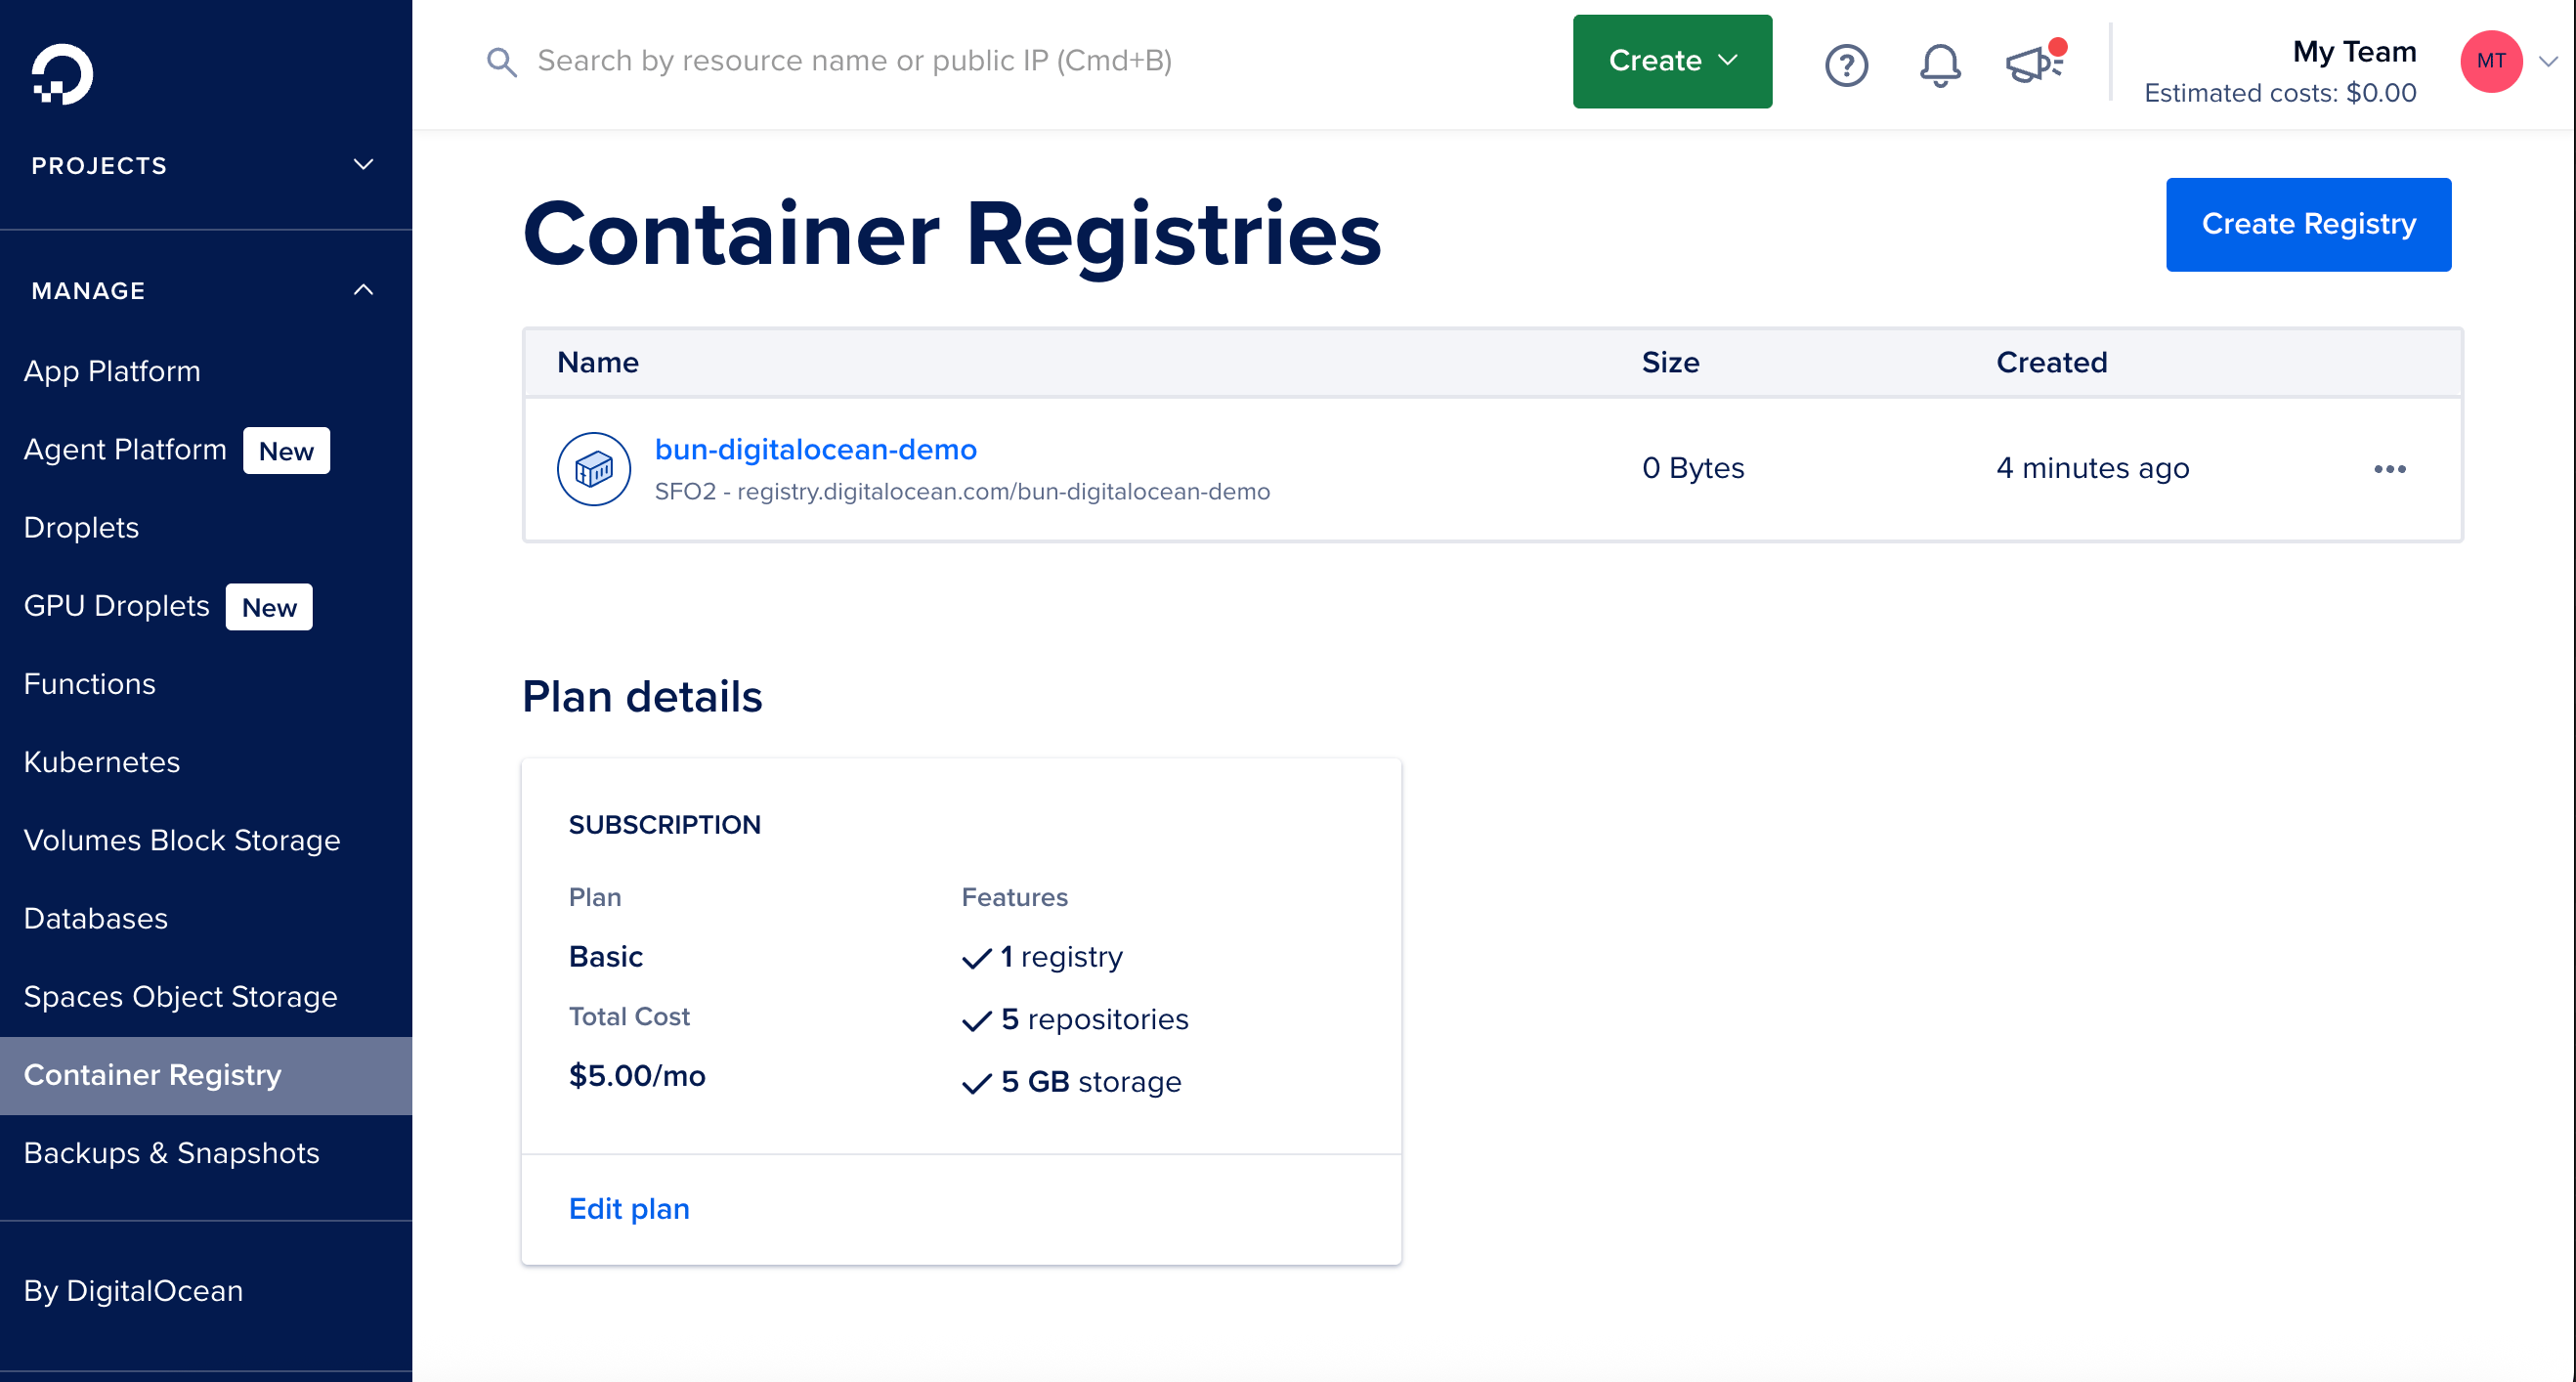
You should see the new registry in the [**DigitalOcean registry dashboard**](https://cloud.digitalocean.com/registry):
Make sure the details are correct, then click **Create Registry**.
```bash terminal icon="terminal" theme={null}
doctl registry create bun-digitalocean-demo
```
```txt theme={null}
Name Endpoint Region slug
bun-digitalocean-demo registry.digitalocean.com/bun-digitalocean-demo sfo2
```
You should see the new registry in the [**DigitalOcean registry dashboard**](https://cloud.digitalocean.com/registry):
 Make sure you're in the directory containing your project, then create a new `Dockerfile` in the root of your project. This file contains the instructions to initialize the container, copy your local project files into it, install dependencies, and start the application.
```docker Dockerfile icon="docker" theme={null}
# Use the official Bun image to run the application
FROM oven/bun:debian
# Set the work directory to `/app`
WORKDIR /app
# Copy the package.json and bun.lock into the container
COPY package.json bun.lock ./
# Install the dependencies
RUN bun install --production --frozen-lockfile
# Copy the rest of the application into the container
COPY . .
# Expose the port (DigitalOcean will set PORT env var)
EXPOSE 8080
# Run the application
CMD ["bun", "index.ts"]
```
Make sure that the start command corresponds to your application's entry point. This can also be `CMD ["bun", "run", "start"]` if you have a start script in your `package.json`.
This image installs dependencies and runs your app with Bun inside a container. If your app doesn't have dependencies, you can omit the `RUN bun install --production --frozen-lockfile` line.
Create a new `.dockerignore` file in the root of your project. This file contains the files and directories that should be *excluded* from the container image, such as `node_modules`. This makes your builds faster and smaller:
```docker .dockerignore icon="Docker" theme={null}
node_modules
Dockerfile*
.dockerignore
.git
.gitignore
README.md
LICENSE
.vscode
.env
# Any other files or directories you want to exclude
```
Before building and pushing the Docker image, authenticate Docker with the DigitalOcean Container Registry:
```bash terminal icon="terminal" theme={null}
doctl registry login
```
```txt theme={null}
Successfully authenticated with registry.digitalocean.com
```
This command authenticates Docker with DigitalOcean's registry using your DigitalOcean credentials. Without this step, the build and push command will fail with a 401 authentication error.
Make sure you're in the directory containing your `Dockerfile`, then build and push the Docker image to the DigitalOcean registry in one command:
```bash terminal icon="terminal" theme={null}
docker buildx build --platform=linux/amd64 -t registry.digitalocean.com/bun-digitalocean-demo/bun-digitalocean-demo:latest --push .
```
If you're building on an ARM Mac (M1/M2), you must use `docker buildx` with `--platform=linux/amd64` to ensure compatibility with DigitalOcean's infrastructure. Using `docker build` without the platform flag will create an ARM64 image that won't run on DigitalOcean.
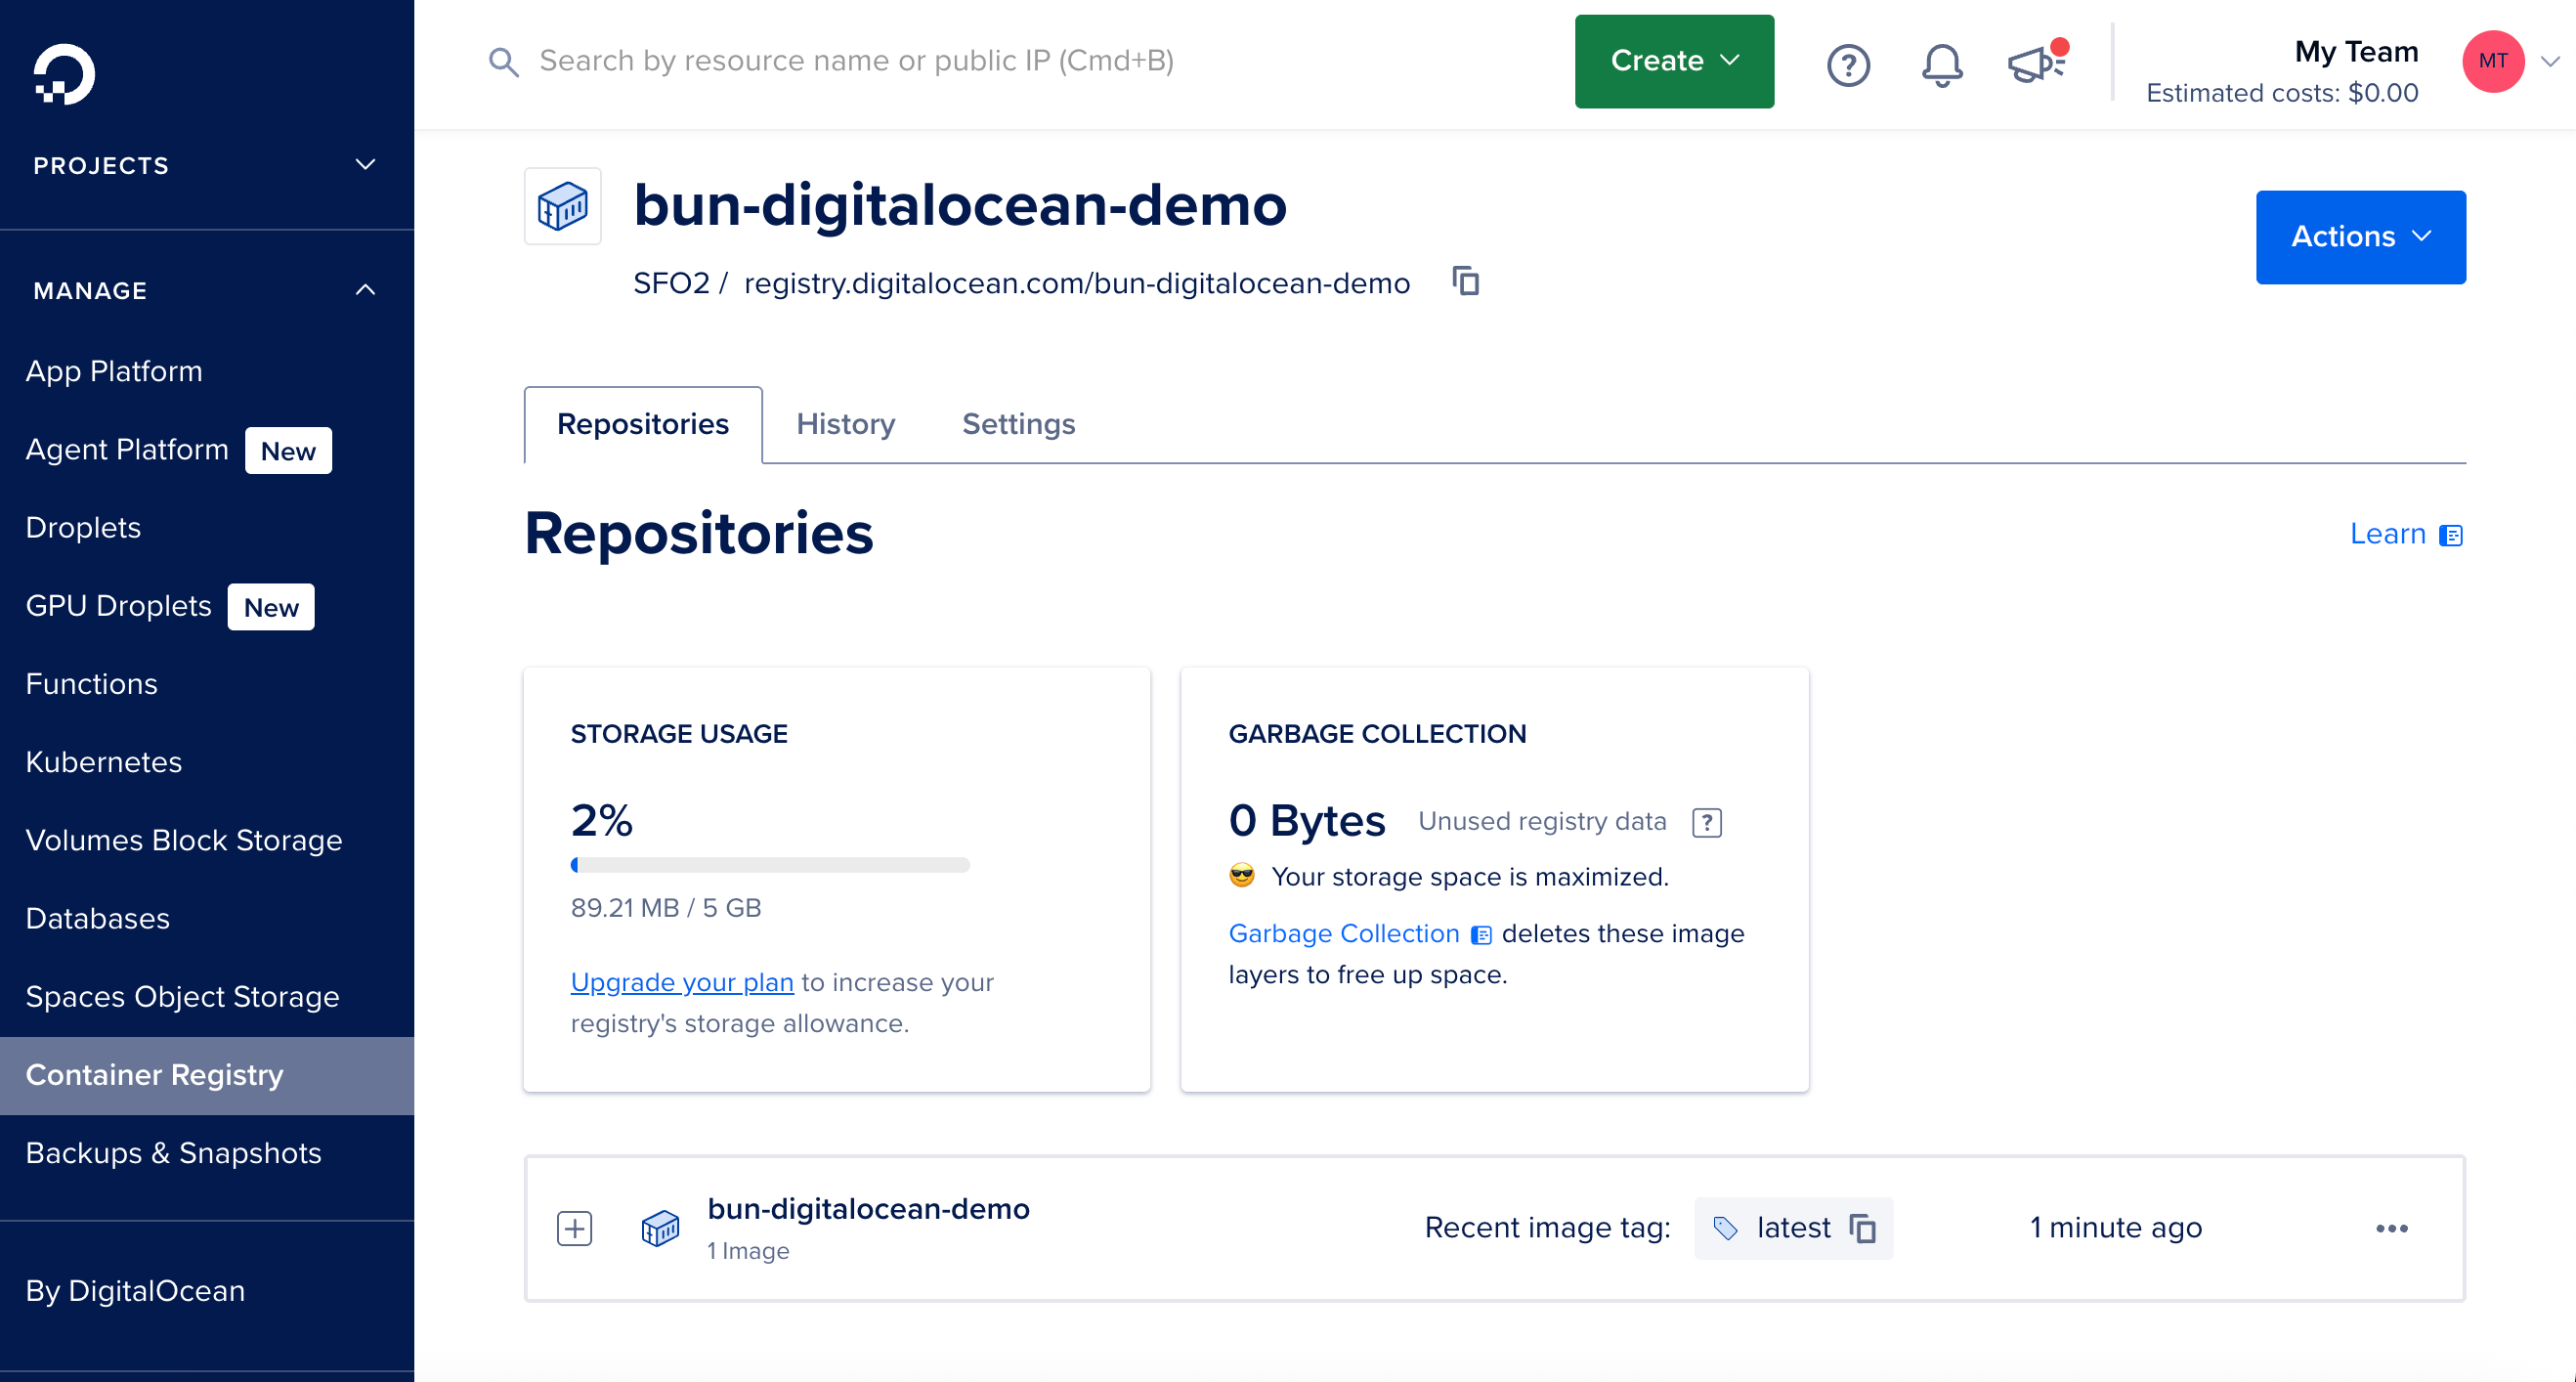
Once the image is pushed, you should see it in the [**DigitalOcean registry dashboard**](https://cloud.digitalocean.com/registry):
Make sure you're in the directory containing your project, then create a new `Dockerfile` in the root of your project. This file contains the instructions to initialize the container, copy your local project files into it, install dependencies, and start the application.
```docker Dockerfile icon="docker" theme={null}
# Use the official Bun image to run the application
FROM oven/bun:debian
# Set the work directory to `/app`
WORKDIR /app
# Copy the package.json and bun.lock into the container
COPY package.json bun.lock ./
# Install the dependencies
RUN bun install --production --frozen-lockfile
# Copy the rest of the application into the container
COPY . .
# Expose the port (DigitalOcean will set PORT env var)
EXPOSE 8080
# Run the application
CMD ["bun", "index.ts"]
```
Make sure that the start command corresponds to your application's entry point. This can also be `CMD ["bun", "run", "start"]` if you have a start script in your `package.json`.
This image installs dependencies and runs your app with Bun inside a container. If your app doesn't have dependencies, you can omit the `RUN bun install --production --frozen-lockfile` line.
Create a new `.dockerignore` file in the root of your project. This file contains the files and directories that should be *excluded* from the container image, such as `node_modules`. This makes your builds faster and smaller:
```docker .dockerignore icon="Docker" theme={null}
node_modules
Dockerfile*
.dockerignore
.git
.gitignore
README.md
LICENSE
.vscode
.env
# Any other files or directories you want to exclude
```
Before building and pushing the Docker image, authenticate Docker with the DigitalOcean Container Registry:
```bash terminal icon="terminal" theme={null}
doctl registry login
```
```txt theme={null}
Successfully authenticated with registry.digitalocean.com
```
This command authenticates Docker with DigitalOcean's registry using your DigitalOcean credentials. Without this step, the build and push command will fail with a 401 authentication error.
Make sure you're in the directory containing your `Dockerfile`, then build and push the Docker image to the DigitalOcean registry in one command:
```bash terminal icon="terminal" theme={null}
docker buildx build --platform=linux/amd64 -t registry.digitalocean.com/bun-digitalocean-demo/bun-digitalocean-demo:latest --push .
```
If you're building on an ARM Mac (M1/M2), you must use `docker buildx` with `--platform=linux/amd64` to ensure compatibility with DigitalOcean's infrastructure. Using `docker build` without the platform flag will create an ARM64 image that won't run on DigitalOcean.
Once the image is pushed, you should see it in the [**DigitalOcean registry dashboard**](https://cloud.digitalocean.com/registry):
 In the DigitalOcean dashboard, go to [**App Platform**](https://cloud.digitalocean.com/apps) > **Create App**. We can create a project directly from the container image.
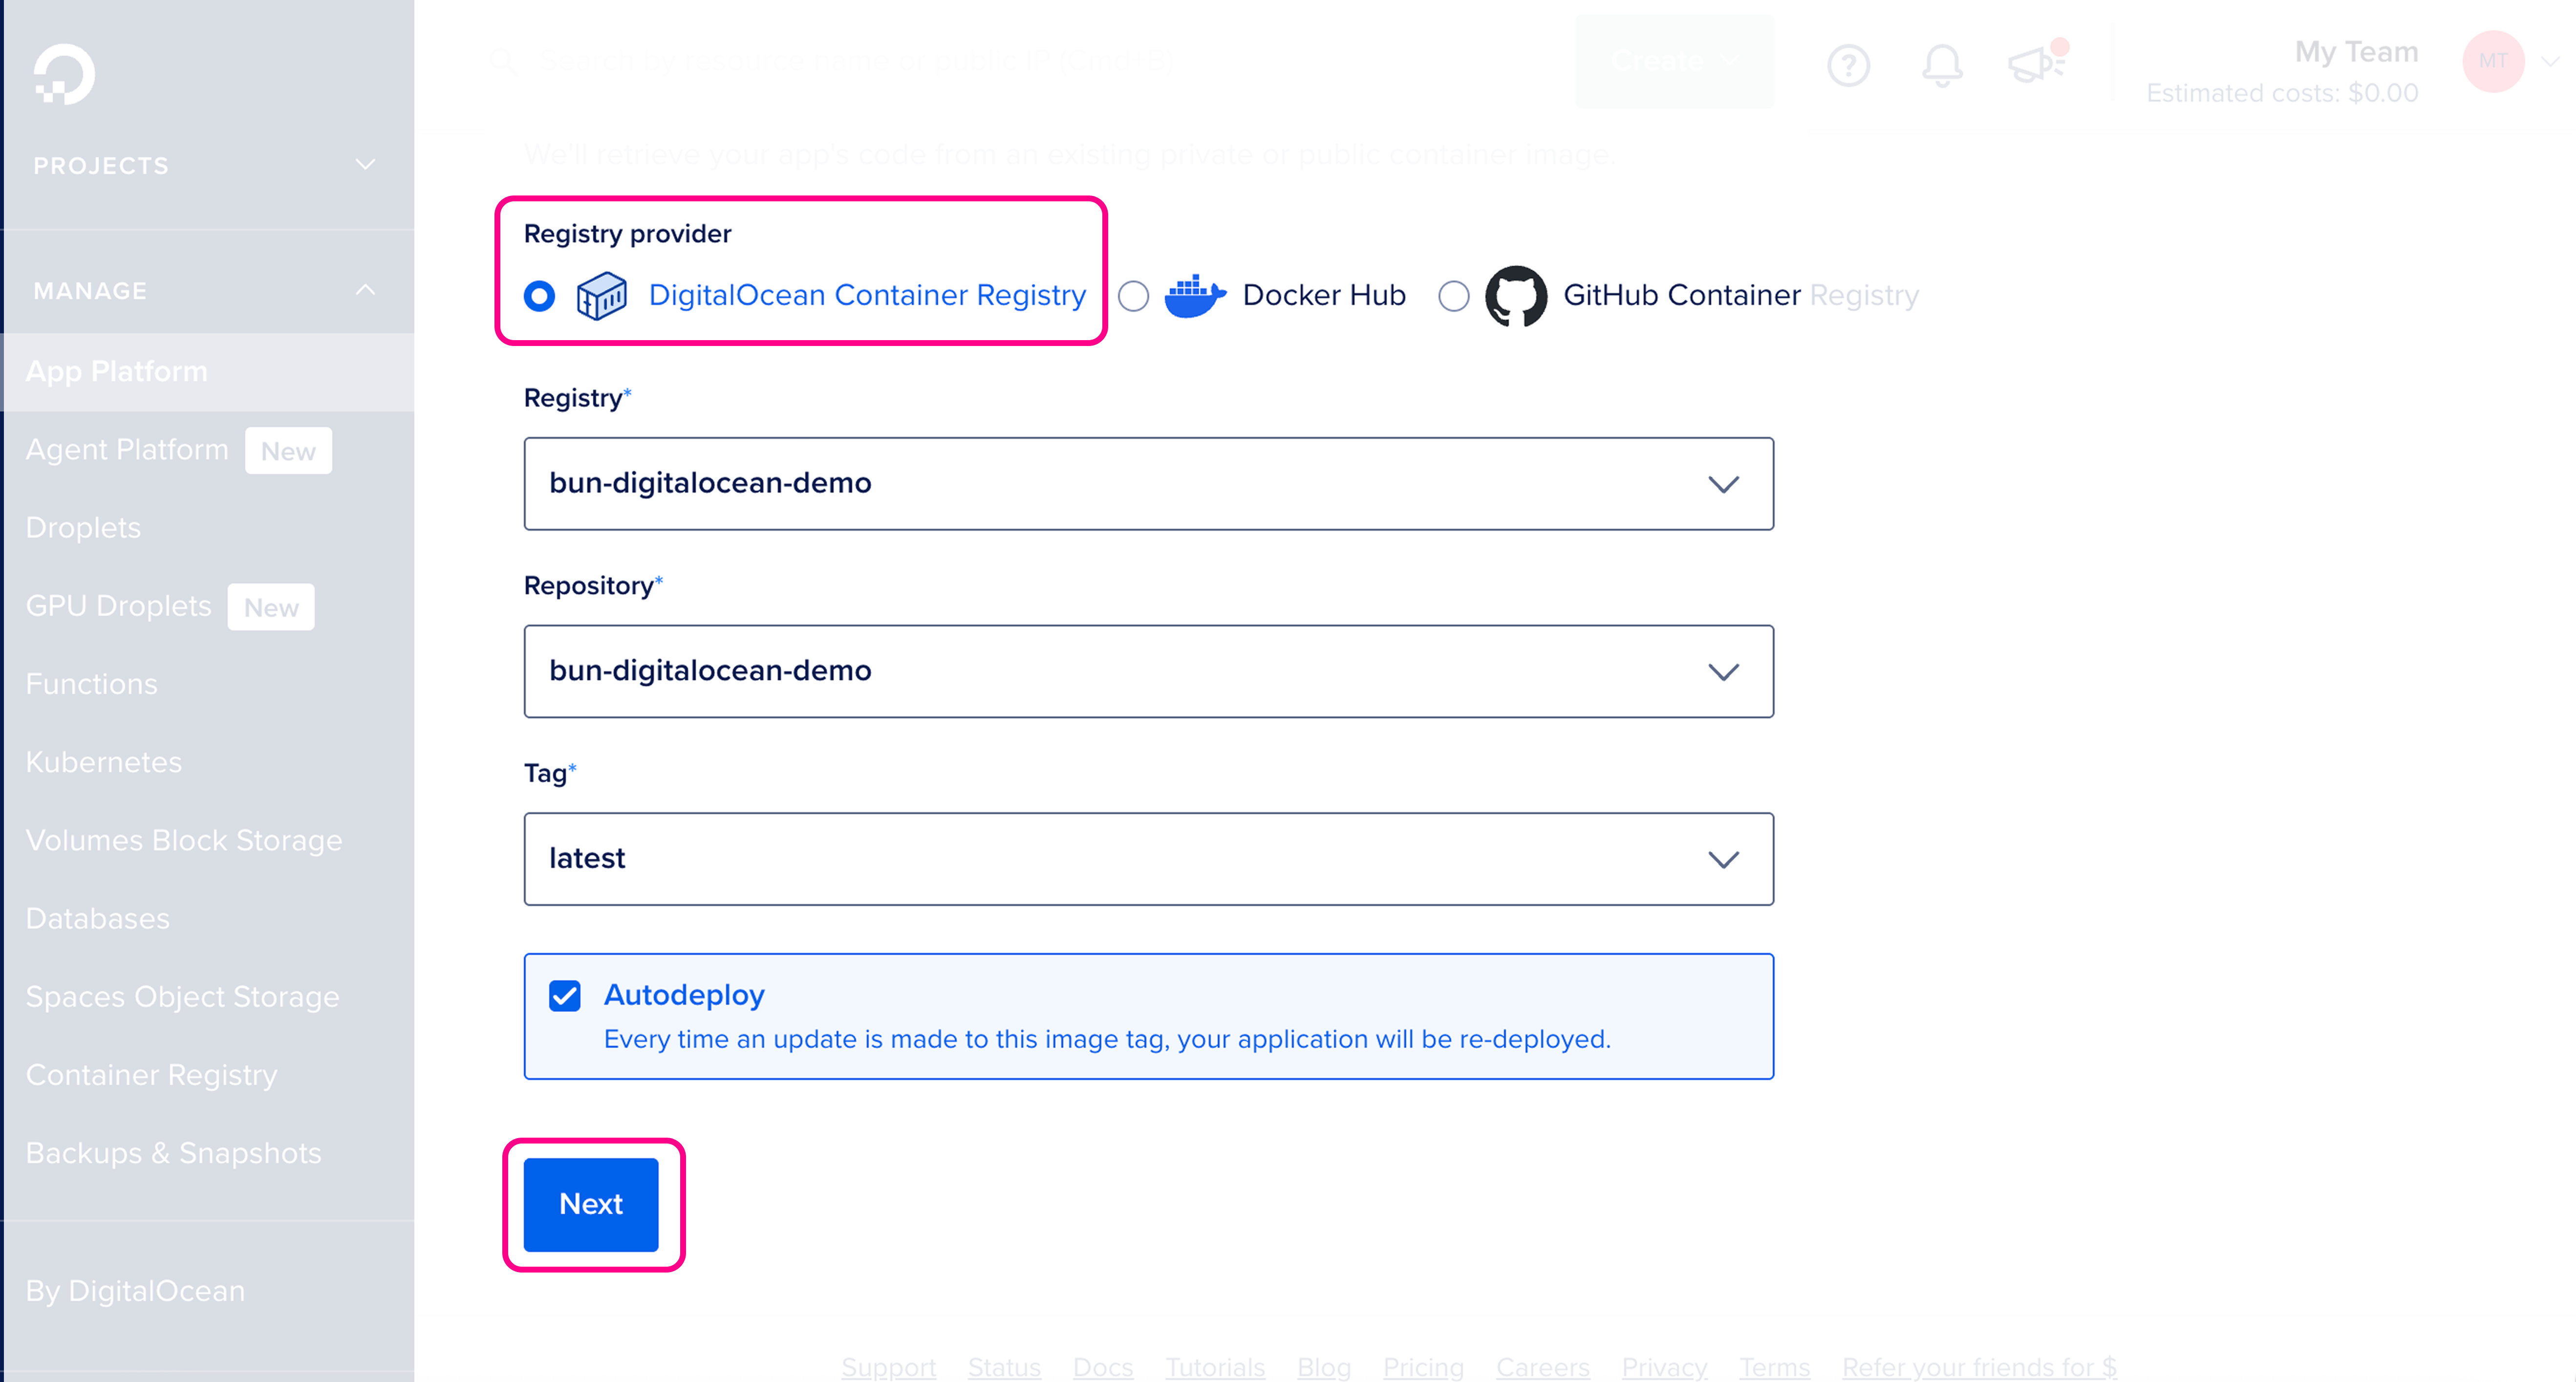
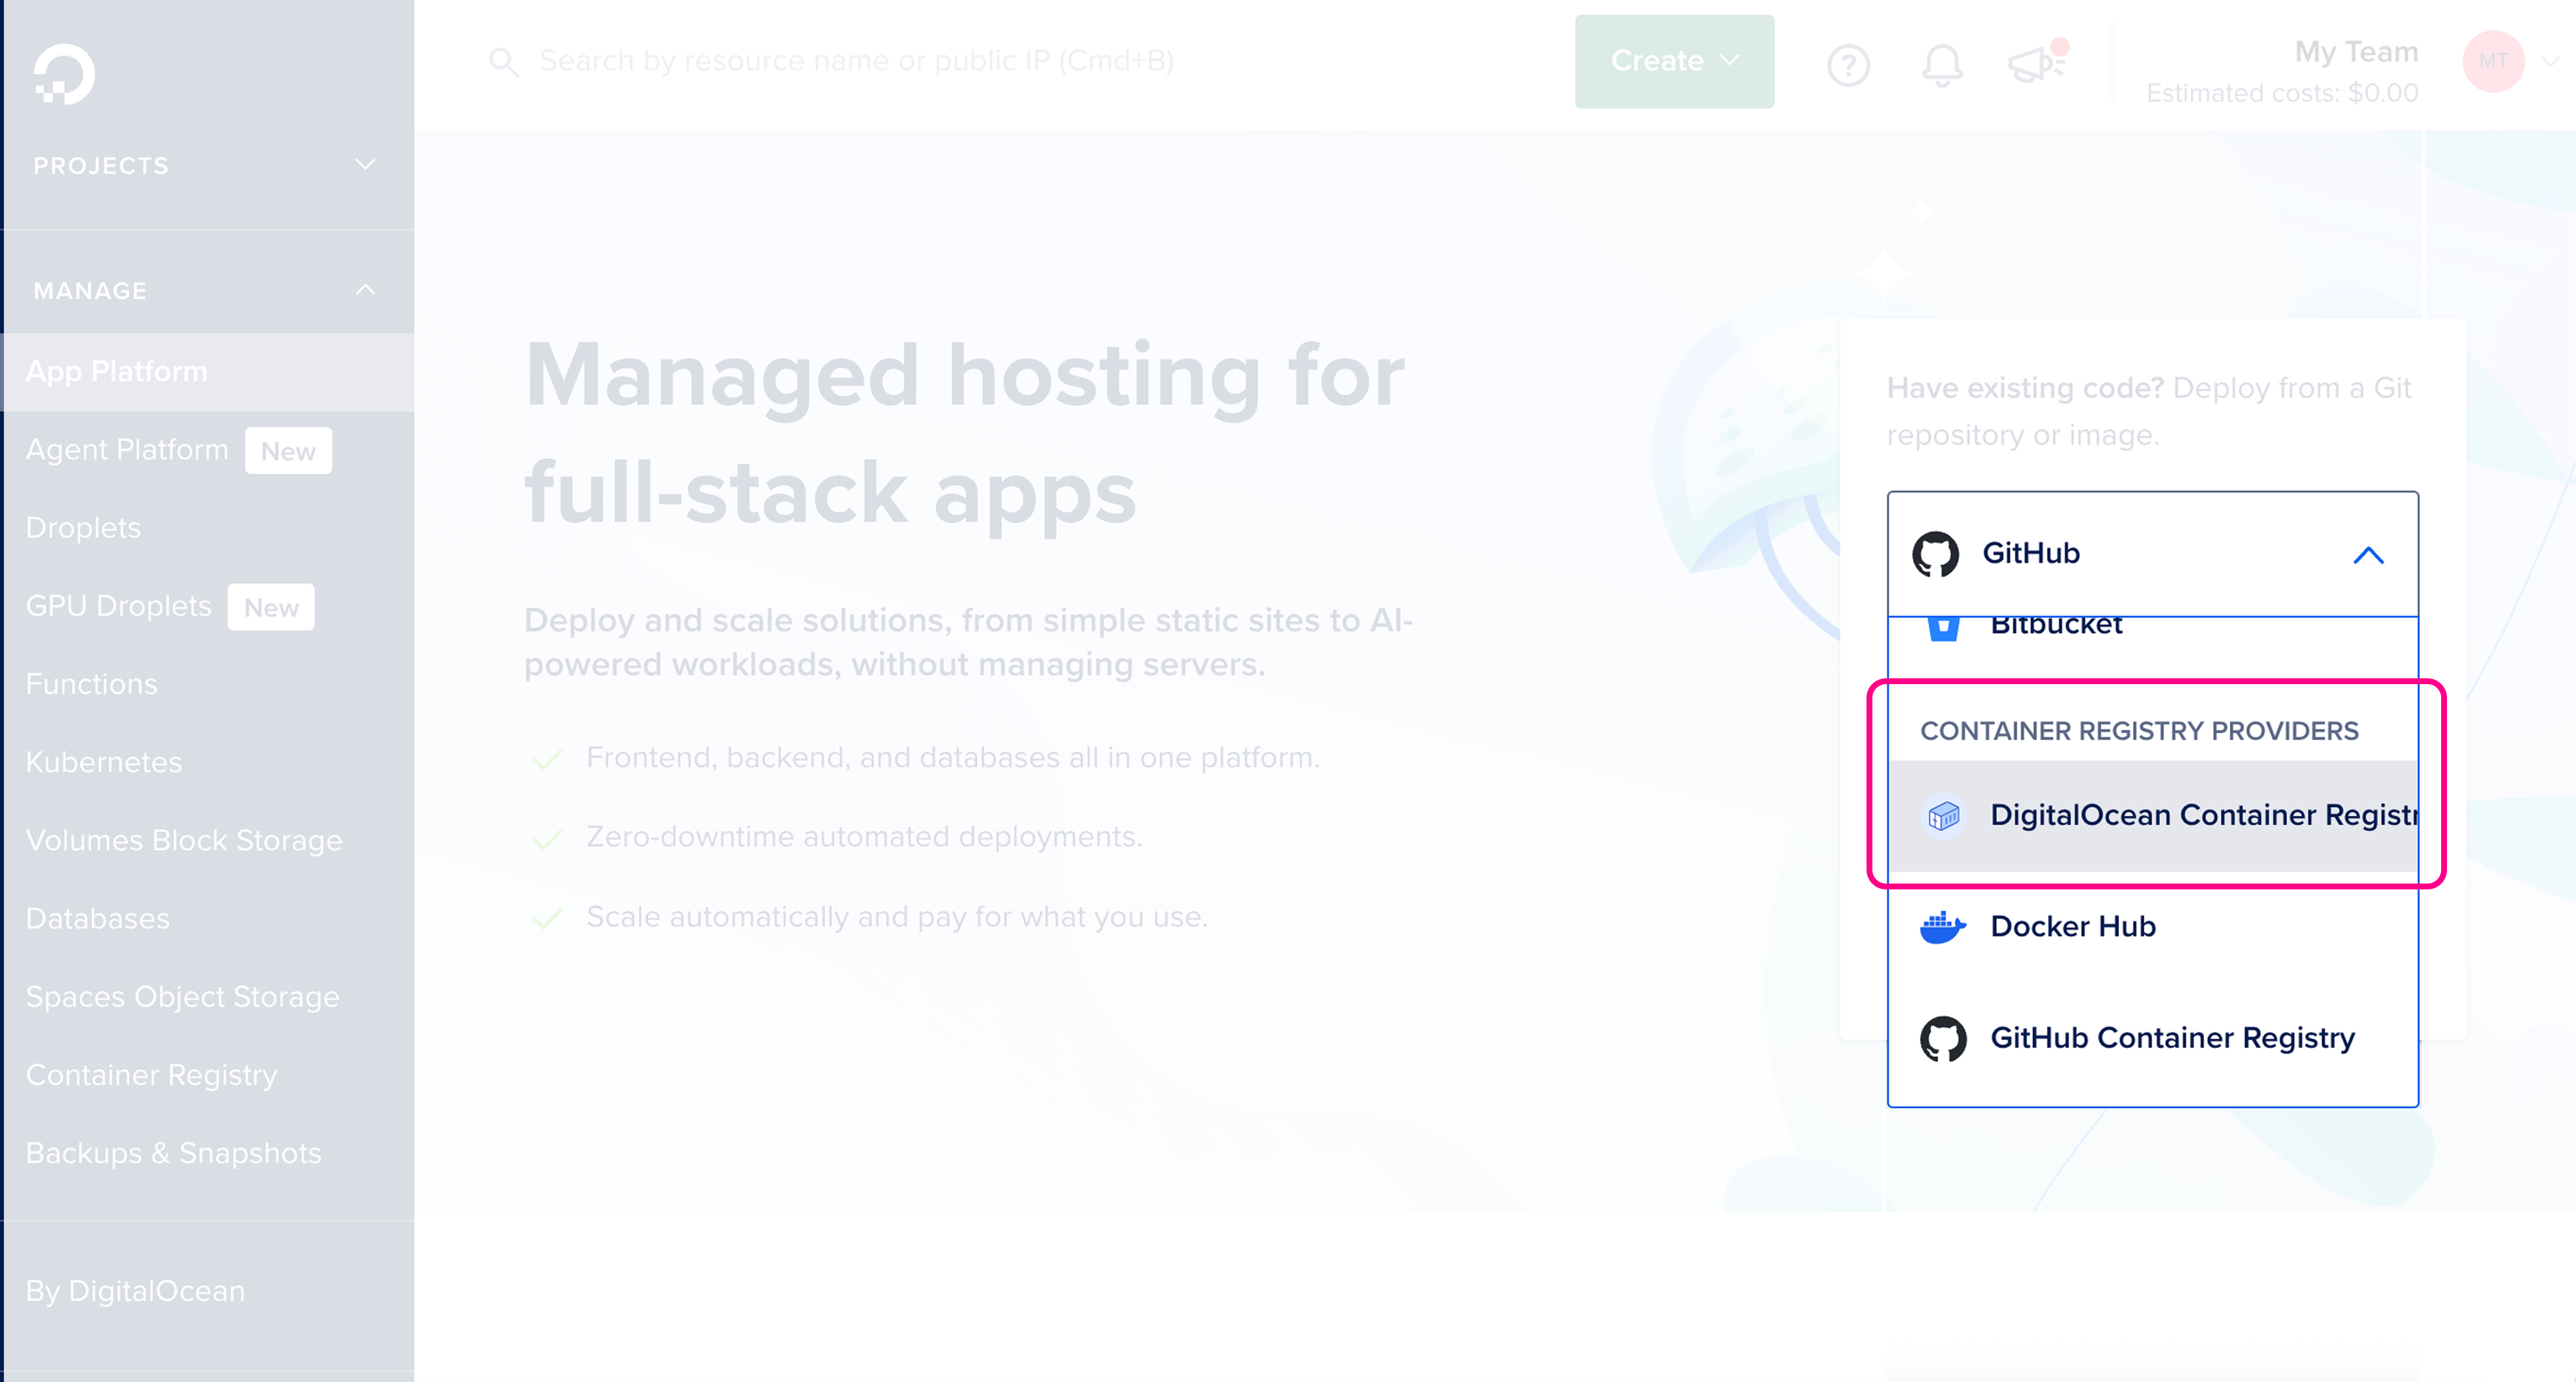 Make sure the details are correct, then click **Next**.
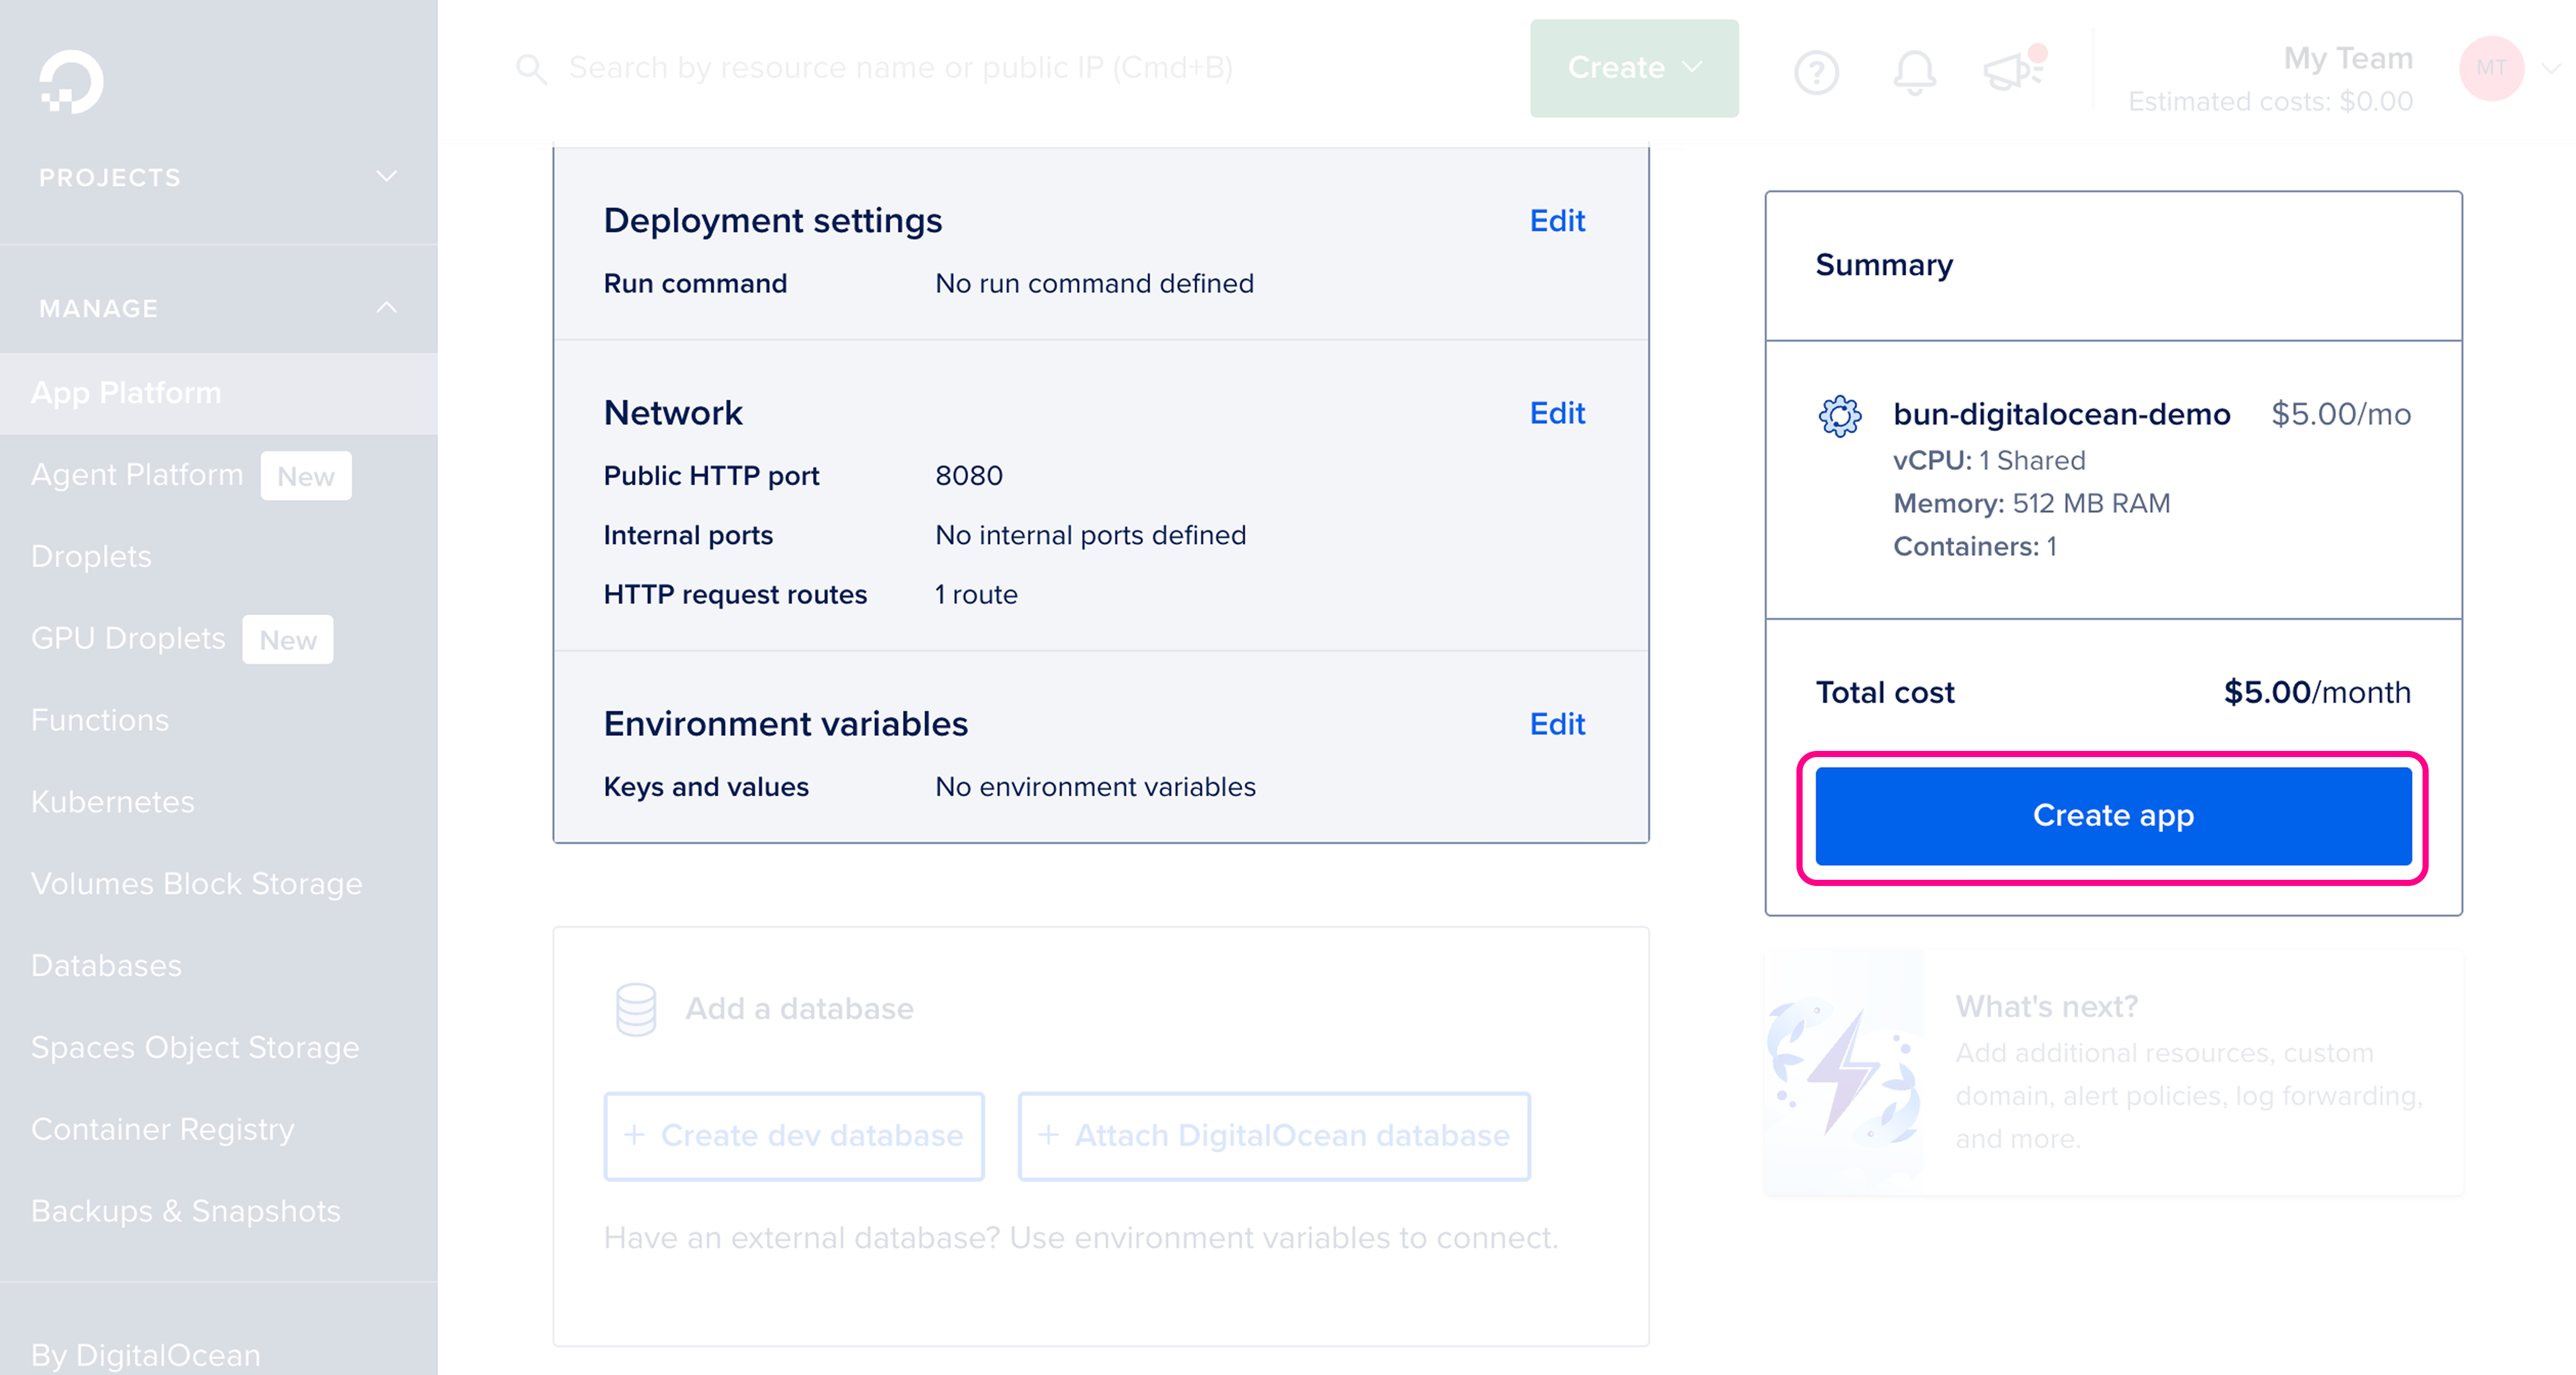
 Review and configure resource settings, then click **Create app**.
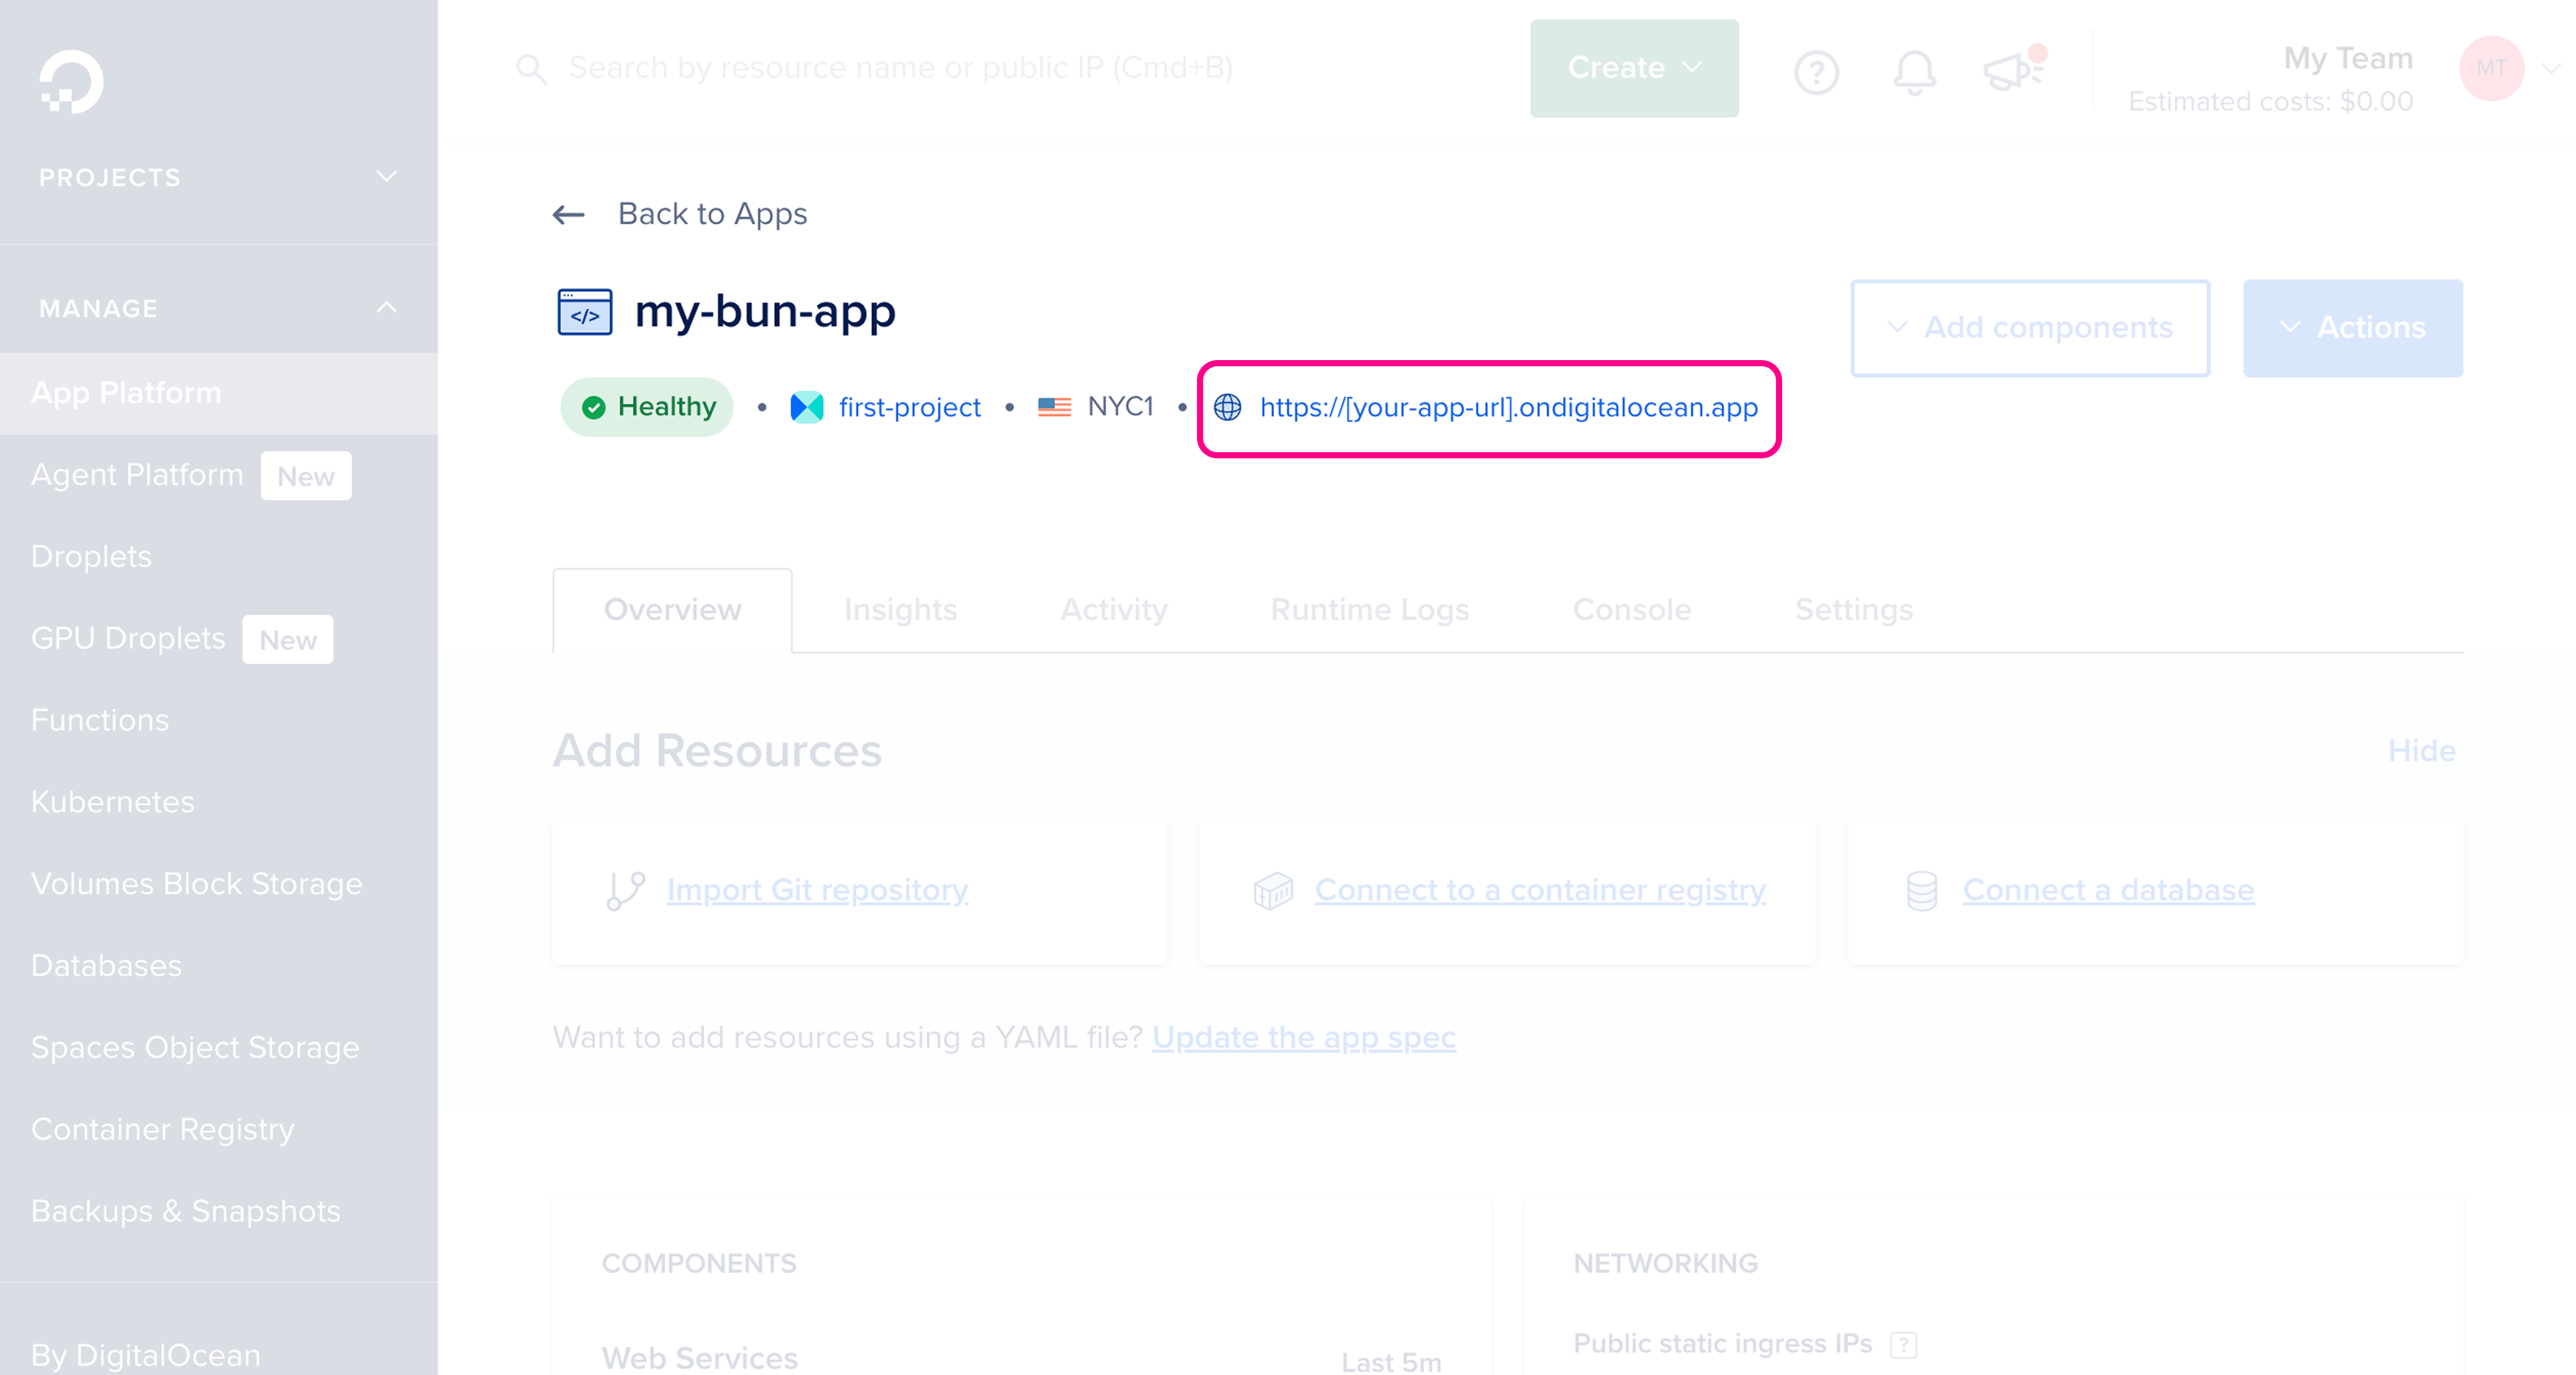
 🥳 Your app is now live! Once the app is created, you should see it in the App Platform dashboard with the public URL.